Trezor.io/start: Secure Your Digital Assets
In the evolving world of cryptocurrency, securing your digital assets has never been more critical. Trezor.io/start is your gateway to setting up the Trezor hardware wallet, ensuring the safety of your Bitcoin, Ethereum, and other cryptocurrencies. With Trezor Suite and Trezor Bridge, managing your crypto portfolio becomes seamless while maintaining top-tier security.
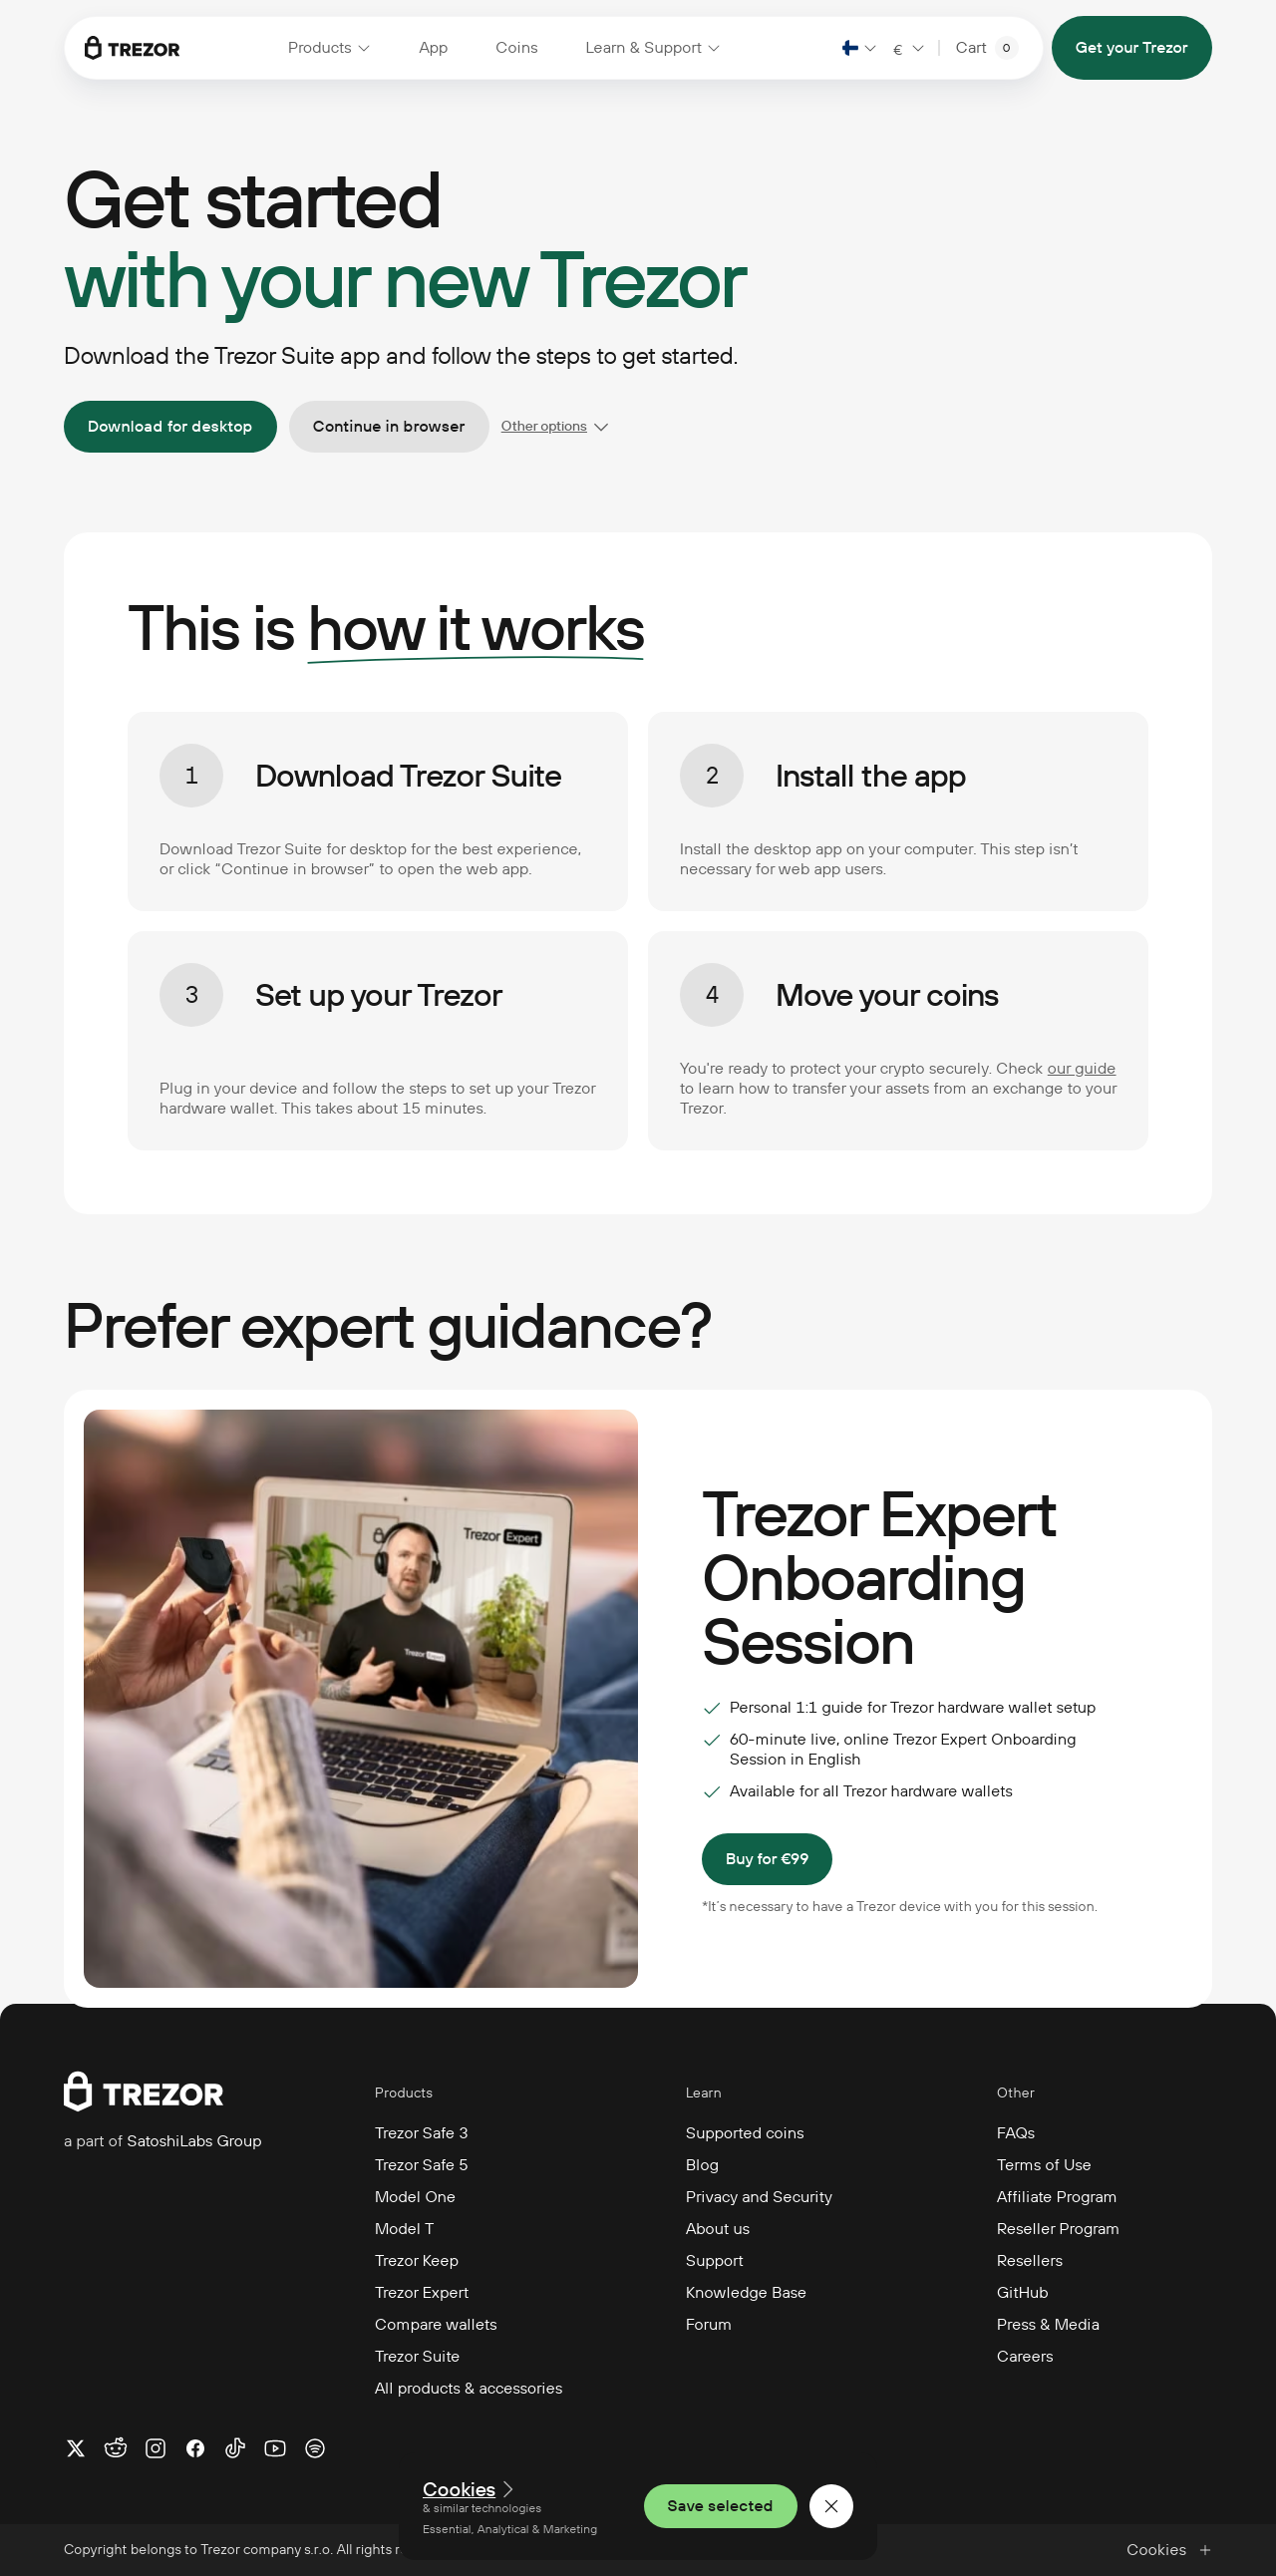
This comprehensive guide walks you through everything you need to know about Trezor.io/start, from setting up your Trezor wallet to using Version: v25.2.2 for enhanced security and new features. Whether you're a beginner or an experienced crypto user, this guide will help you make the most out of your Trezor hardware wallet.
Why Choose Trezor Hardware Wallet?
Unmatched Security
Trezor is a cold storage hardware wallet, meaning it stores your crypto assets offline, away from potential online threats. Unlike software wallets, Trezor wallet ensures that your private keys never leave the device, protecting your assets from hacking attempts and malware.
Easy-to-Use Interface
With Trezor Suite, managing your portfolio has never been easier. Trezor Suite is a dedicated app that provides a user-friendly and secure way to access your cryptocurrencies, send or receive transactions, and monitor market trends.
Wide Cryptocurrency Support
Trezor wallets support thousands of cryptocurrencies, including Bitcoin (BTC), Ethereum (ETH), Litecoin (LTC), and many ERC-20 tokens. Trezor.io/start ensures that you can store, manage, and trade your assets with ease.
Open-Source Transparency
Trezor's firmware and software are open-source, meaning that the global community can audit and verify the security of the wallet, ensuring there are no hidden vulnerabilities.
Getting Started with Trezor.io/start
Setting up your Trezor wallet is a straightforward process. Follow these steps to ensure your device is ready for secure cryptocurrency storage.
Step 1: Unboxing and Connecting Your Trezor Device
- Open your Trezor hardware wallet package and ensure all contents are present.
- Connect your Trezor device to your computer or mobile device using the provided USB cable.
- Go to Trezor.io/start in your web browser.
Step 2: Installing Trezor Bridge
Trezor Bridge is essential software that allows seamless communication between your Trezor device and your web browser.
- Download Trezor Bridge from Trezor.io/start based on your operating system (Windows, macOS, or Linux).
- Install and follow the on-screen prompts to set up the connection between your Trezor device and the browser.
Step 3: Setting Up Trezor Suite
- Download Trezor Suite from the official website and install it on your device.
- Launch the app and select ‘Set Up New Wallet’ to begin the setup process.
- Follow the on-screen security instructions to complete the initial configuration.
Step 4: Generating Your Recovery Seed
A recovery seed is a 12, 18, or 24-word phrase that serves as a backup for your Trezor wallet.
- Write down the recovery seed carefully and store it in a secure location.
- Never share your recovery seed with anyone—doing so would compromise your wallet’s security.
Step 5: Creating a PIN for Your Trezor Wallet
To add an extra layer of security, set up a PIN code to prevent unauthorized access.
- Choose a strong PIN that only you can remember.
- Confirm your PIN setup through the Trezor device interface.
Exploring Trezor Suite Features
Secure Cryptocurrency Management
With Trezor Suite, you can:
✔ Send and receive cryptocurrencies securely.
✔ View your portfolio balance and market trends.
✔ Use Version: v25.2.2 for enhanced performance and new security features.
Enhanced Privacy Settings
Trezor Suite comes with built-in privacy tools, including:
- CoinJoin for anonymizing transactions.
- Tor Integration for secure and private connections.
Firmware Updates
Keeping your device up to date ensures optimal security. Always update your Trezor wallet firmware to the latest version through Trezor Suite to benefit from new security patches and features.
Troubleshooting Common Issues
Trezor Device Not Recognized?
- Ensure that Trezor Bridge is installed and running.
- Try using a different USB cable or port.
- Restart your computer and reconnect the device.
Forgot Your PIN?
- Use your recovery seed to restore access to your wallet.
- If you lose both your PIN and recovery seed, access to your funds will be permanently lost.
Trezor Suite Not Connecting?
- Clear your browser cache or try incognito mode.
- Disable conflicting browser extensions.
- Ensure your Trezor firmware is updated to the latest version.
FAQs About Trezor.io/start
Is Trezor safer than software wallets?
Yes! Trezor hardware wallets store private keys offline, making them immune to malware, phishing, and hacking attempts that commonly affect software wallets.
Can I use Trezor without Trezor Suite?
Yes, you can manage your assets via third-party wallets like Metamask or Electrum, but Trezor Suite offers the most secure and seamless experience.
What happens if I lose my Trezor wallet?
If you have your recovery seed, you can restore your wallet on a new Trezor device. Without it, your funds will be permanently inaccessible.
Is Trezor compatible with all cryptocurrencies?
Trezor supports over 1,800 cryptocurrencies, including Bitcoin, Ethereum, and ERC-20 tokens. Check the official list for specific coin compatibility.
How often should I update my Trezor firmware?
Regular updates ensure security enhancements and new features. Always install the latest firmware updates via Trezor Suite.
Conclusion
Setting up your Trezor hardware wallet through Trezor.io/start is the first step toward securing your digital assets. With Trezor Suite, Trezor Bridge, and the latest Version: v25.2.2, you can manage your cryptocurrencies safely and efficiently.
For the best security, always keep your recovery seed private, regularly update your firmware, and use Trezor Suite for transactions.
🔒 Start your secure crypto journey today with Trezor.io/start!